- Index page with recent astrophotos
- Leeuwenboschfontein weekend starparty 2016 Mar 4-6
- Events observed by me from 2003 latest: Mercury transit 2016 May 9
- Page with sky pictures with the EOS 6
- Lunar and planetary images and phenomenas
- Page with sky pictures with the EOS 40 from Bali jan 2009, feb 2010 and 2012
- Page with sky pictures from La Palma Jan / Feb 2011
- Total lunar eclipse of 2011 Jun 15
- Solar eclipse visible as deep partial in Indonesia on 2009 Jan 26
- Old 1973 Polarex 80mm spotting scope refurbishment.
- New 2015 Robtics ED110 refractor
- Using a telephoto lens as a small handheld telescope
- Nice sky pictures taken from a plane in full flight
- How to see stars in the daytime ?
- Old astrophotos from 1980-1990s
- How I learned Astronomy
- > Astronomik CLS filter test
- Simple Eclipse calculations
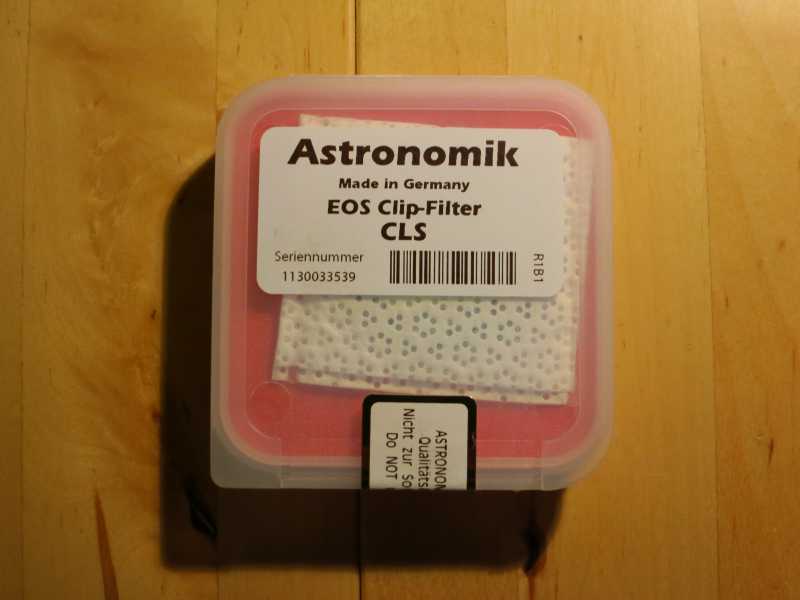
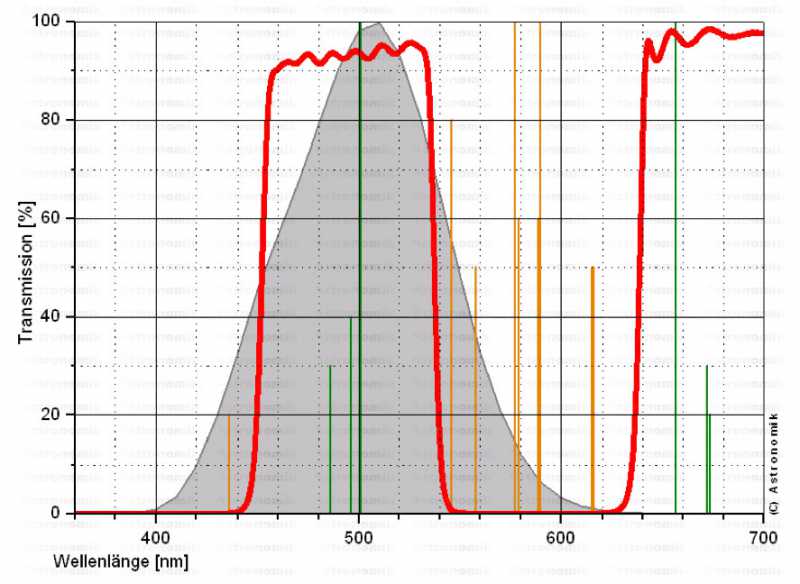
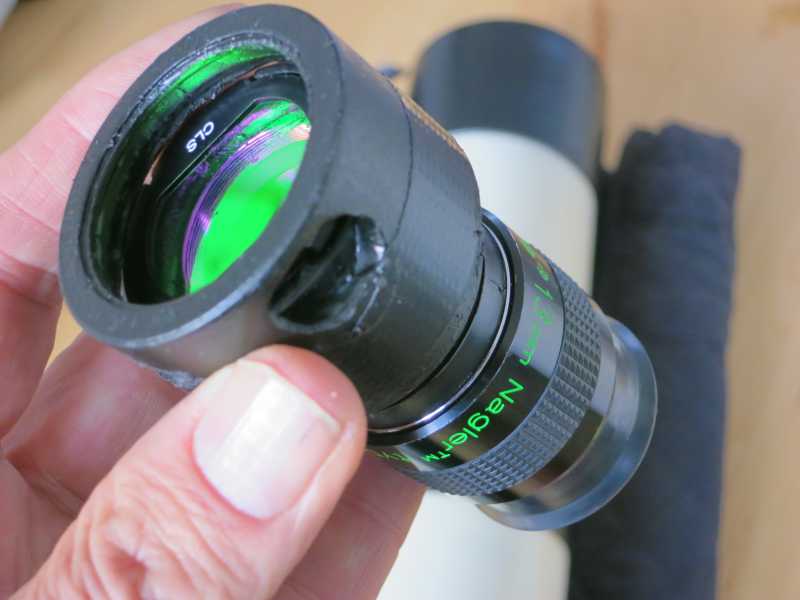
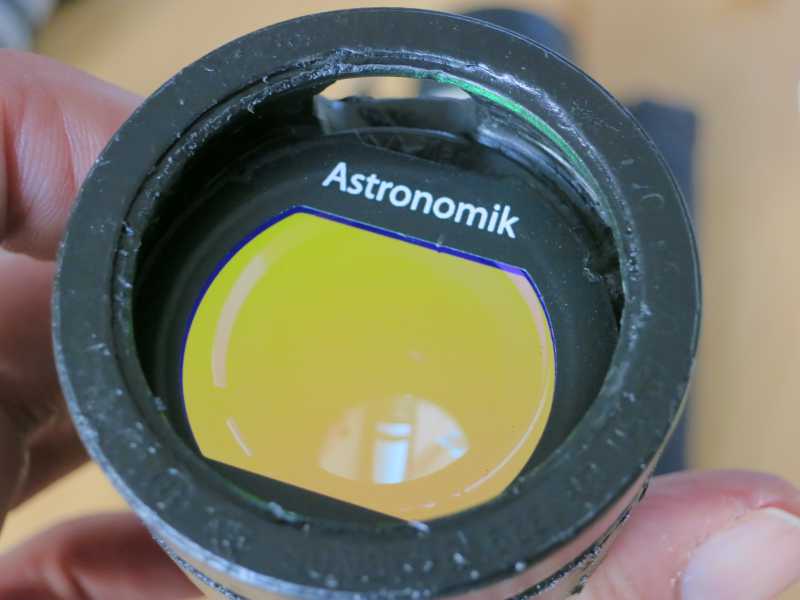
The Astronomik EOS CLS filterThis is a light pollution filter which filters out between 540nm (green) and 640 (red) so most spectral lines of mercury lamps and sodium vapor lamps are filtered out which is most of the light pollution. Metal halide and LED lamps however have a more broadband spectrum so this is not easy to filter out. But LED lamps have have lower light output in the frequencies which are allowed by this filter, so still they are more attenuated by this filter than starlight. In general, the contrast of astrophotos is better, particularly of nebulae as the wavelengths emitted by nebulae O III and H Alpha are also allowed by this filter and appears relatively brighter. I just purchased this filter from Astronomik for my EOS 7 camera. I did some tests with high pressure sodium (the most ubiquitous light pollution source) and metal halide lamps and took some street scenes. It turned out that in broad spectrum light (daylight, starlight) the loss is about 1 stop, in metal halide and LED light slightly more 1-2 stops, but in high pressure sodium at least four stops. I used a Canon EF 50mm f/2.5 lens as I cannot use the EF-S 15-85mm f/3.5-5.6 standard zoom lens due to limitations mentioned below. This looks promising for astrophotography. Now waiting for the first moonless clear night for sky testing.
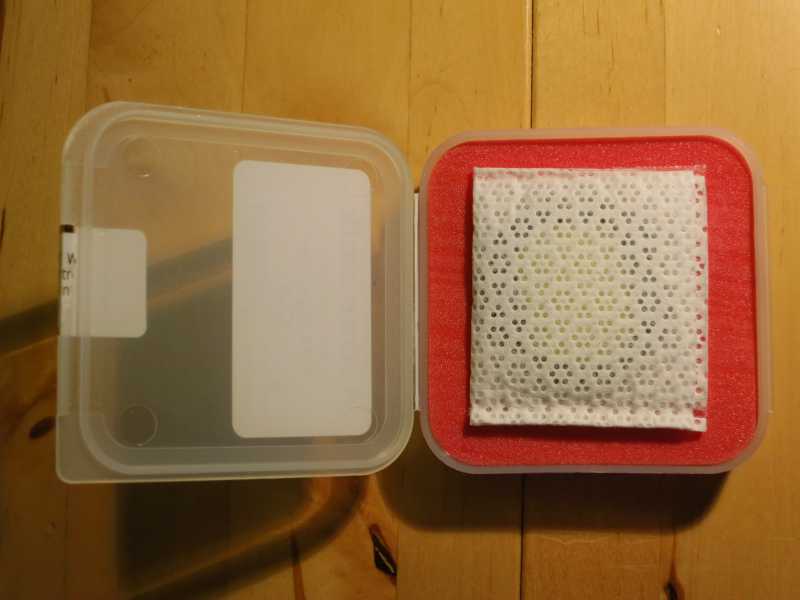
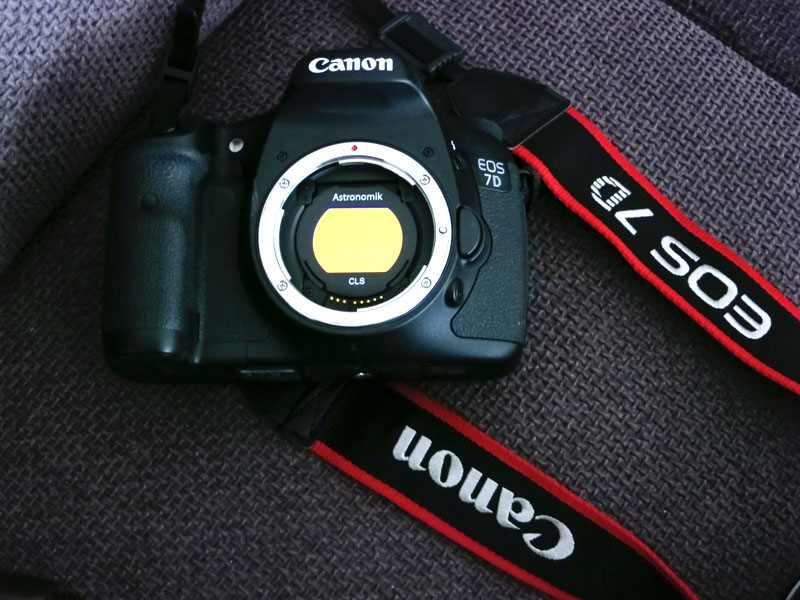
The filter can very easily be inserted into the camera body: just remove the lens and put it (without touching the filter surface!) with your fingers with the Astronomik logo facing you and to the top of the camera, into the camera just in front of the mirror.
To be tried on real sky yet. This visual use can only be useful in heavy light polluted skies as otherwise the limiting magnitude will be lowered by 0.5-0.7 magnitude. Test have to be done yet. | |||||||||||||||||||
| |||||||||||||||||||
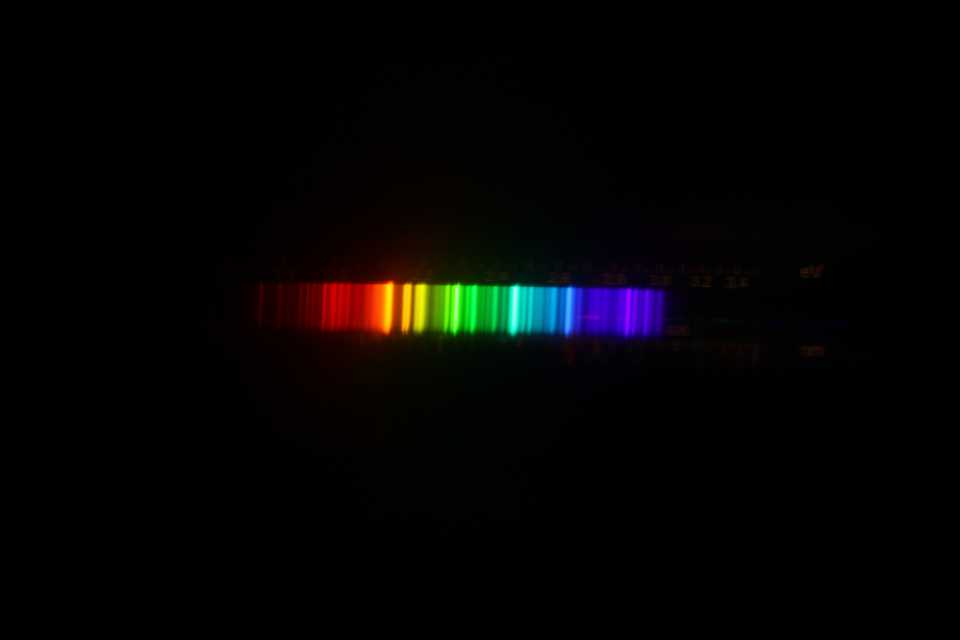
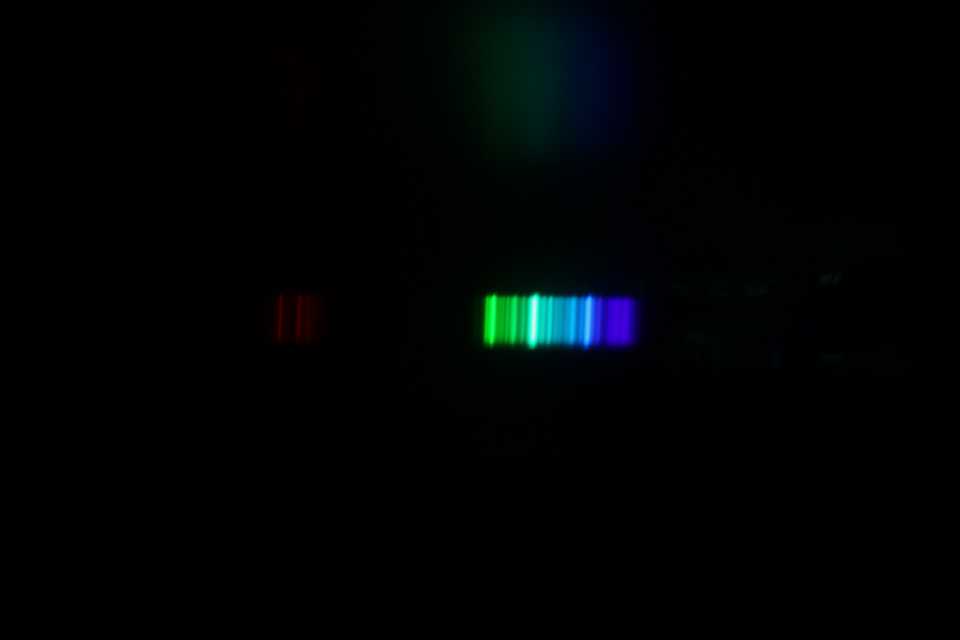
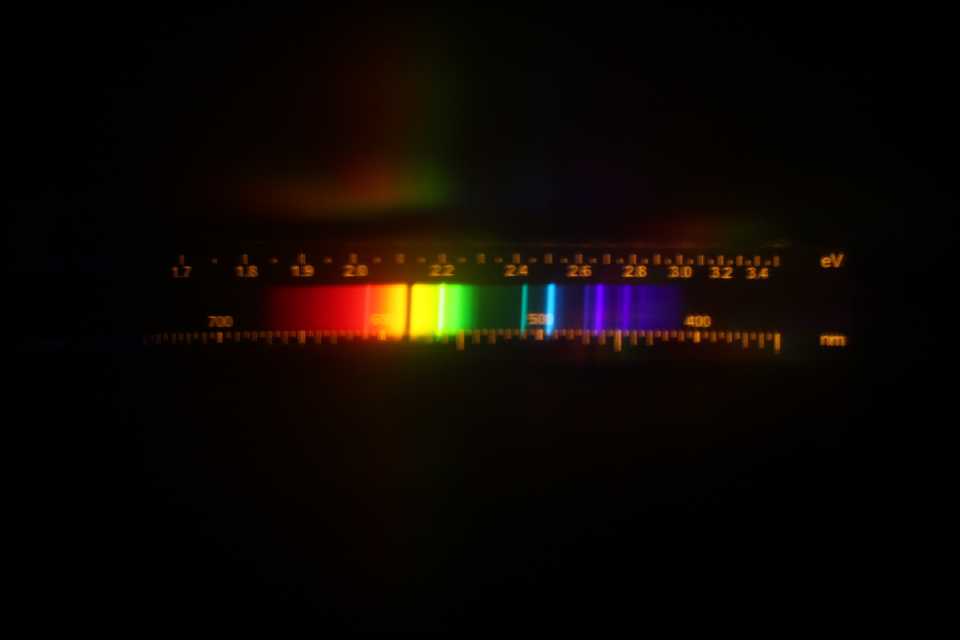
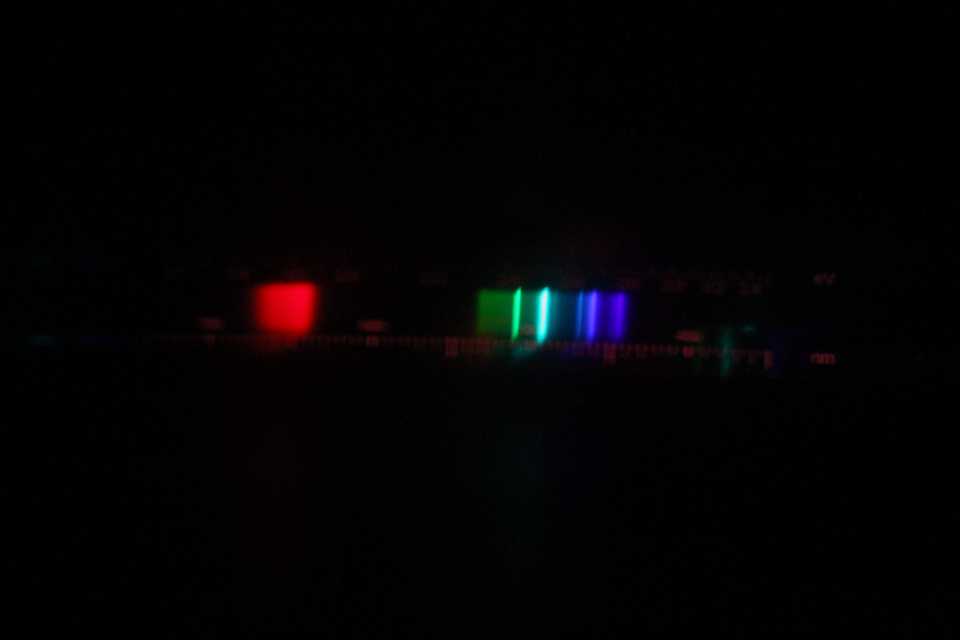
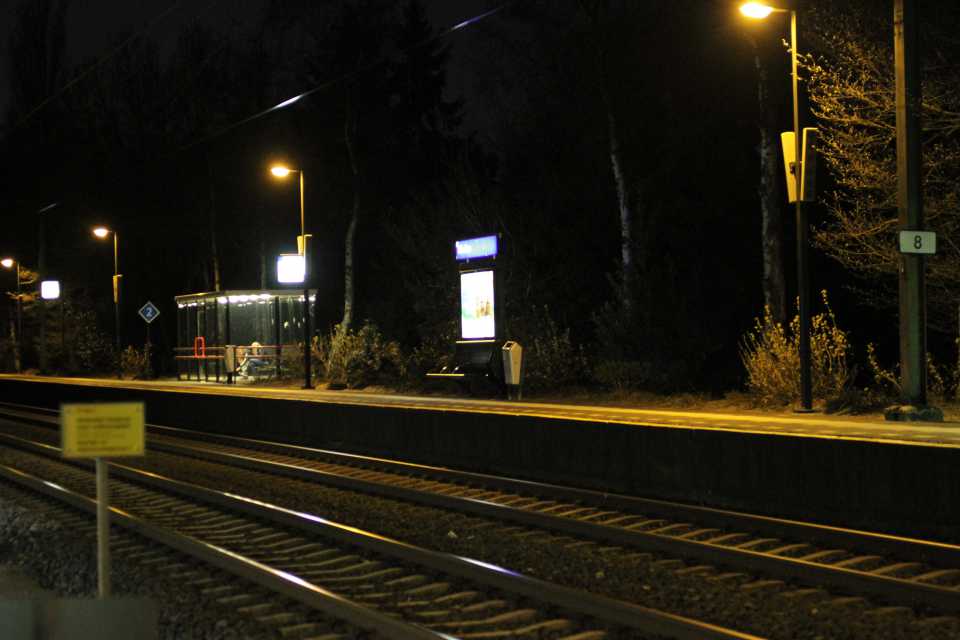
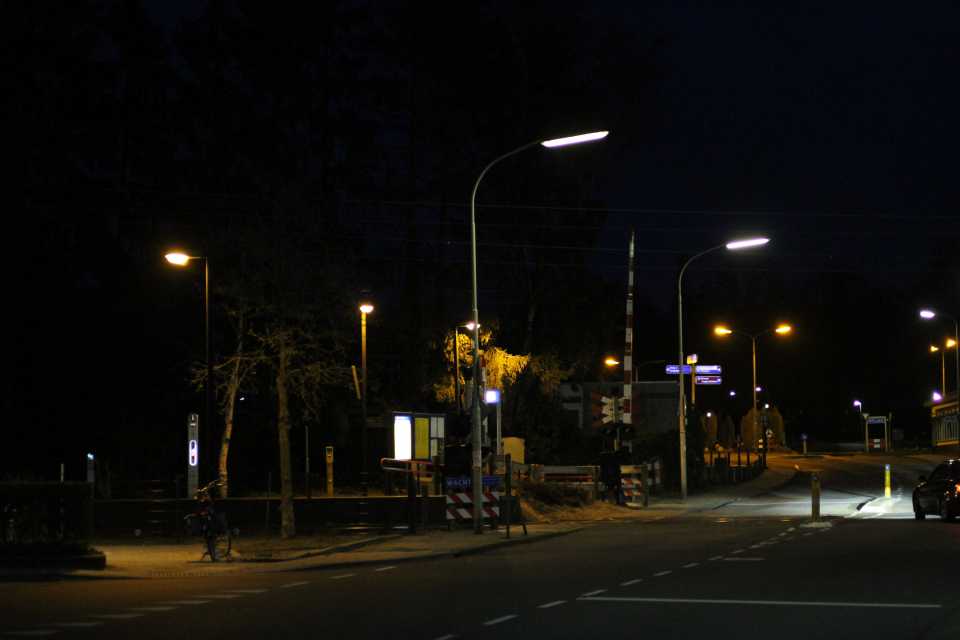
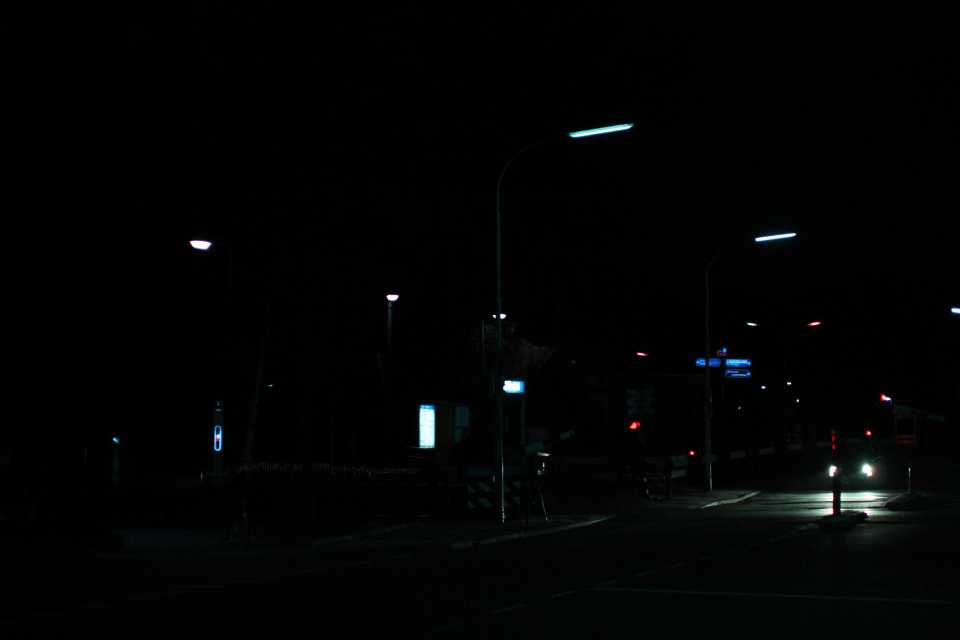
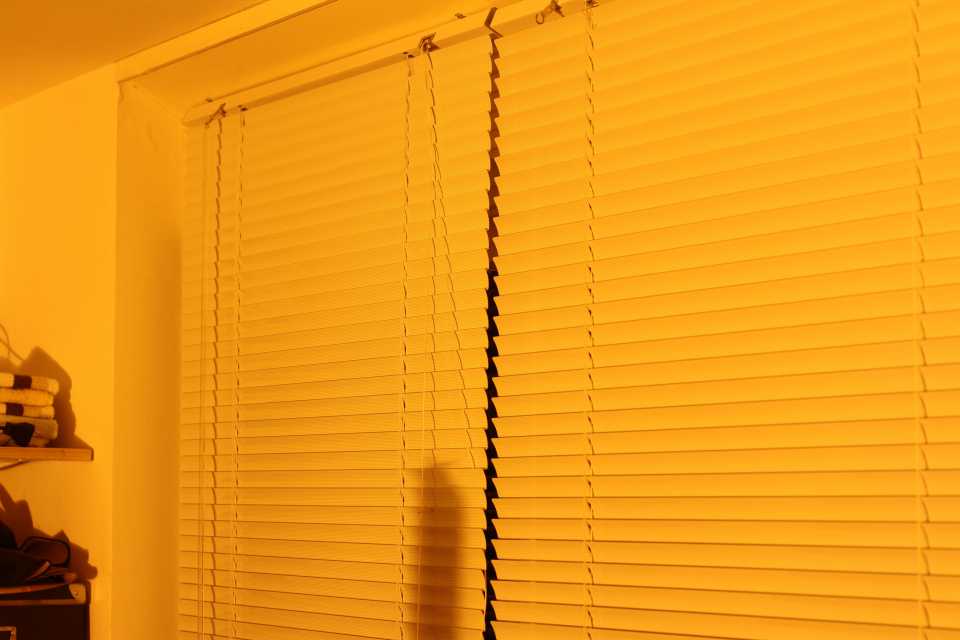
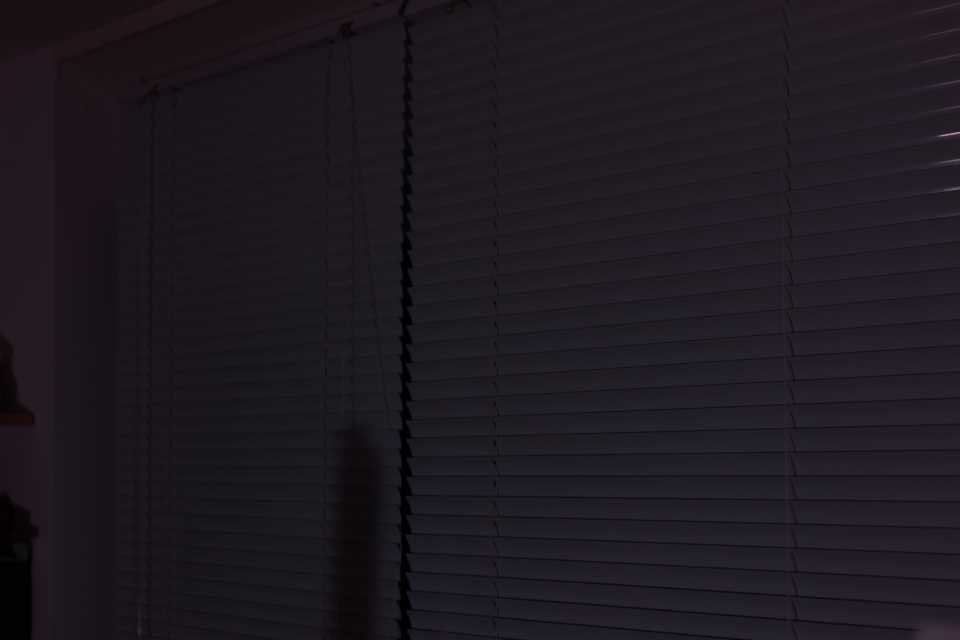
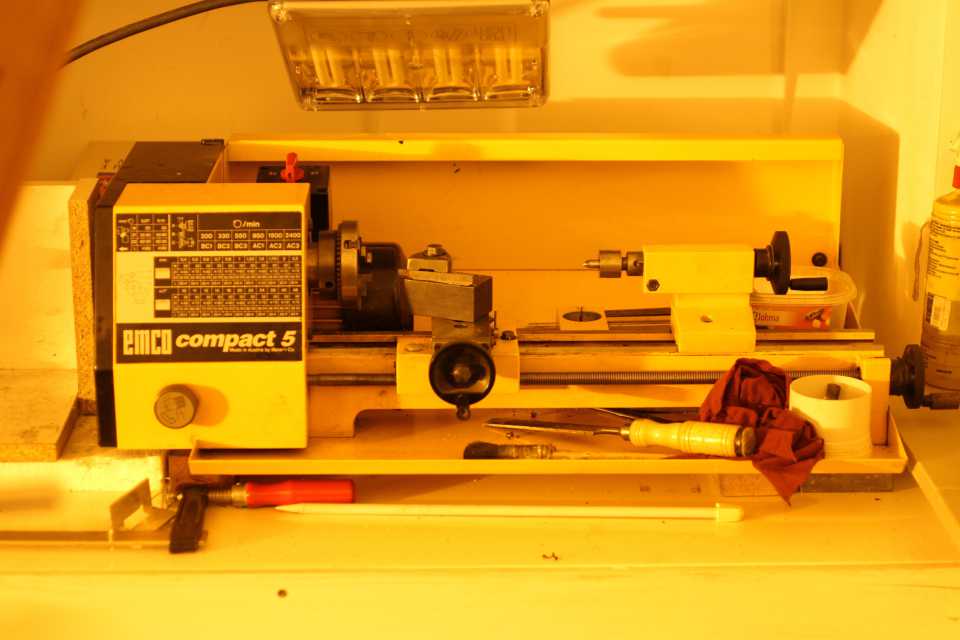
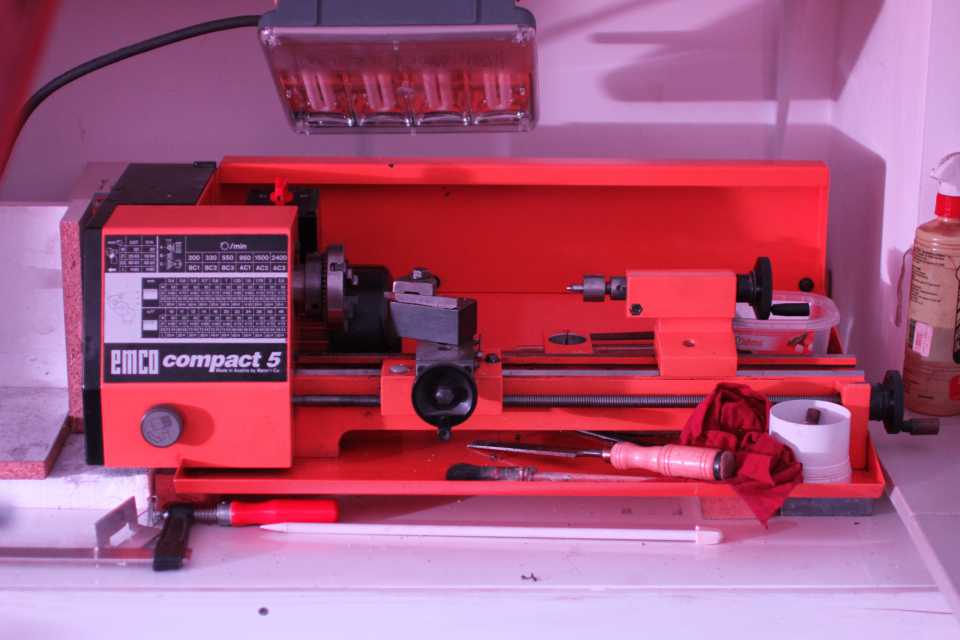
Artificial lighting samplesSee below the results left with filter, right without. All rows are taken at the same exposure value, so the images with filter are heavily underexposed. Except the last row is a picture of my yellow lathe which is corrected just to show the weird colors resulting from a yellow object. The forst two rows are taken outdoors. Note the very dim low pressure sodium lamps in the filter. For the MH lamp spectra picture I used a 600 W Venture metal halide lamp and for the high pressure sodium lamp spectrum and the last two rows I used a Philips Master SON 600 W lamp. | |||||||||||||||||||
| |||||||||||||||||||
|
All picture pairs (except the lathe) above are taken with the same exposure value and ISO setting to show the difference. As seen here, sodium lamps are dimmed the most, followed by warm white compact fluorescent lamp, LED lamps. Incandescent lamps are the least affected by the filter. Fortunately, they are used the least for outdoor lighting at night. | |||||||||||||||||||
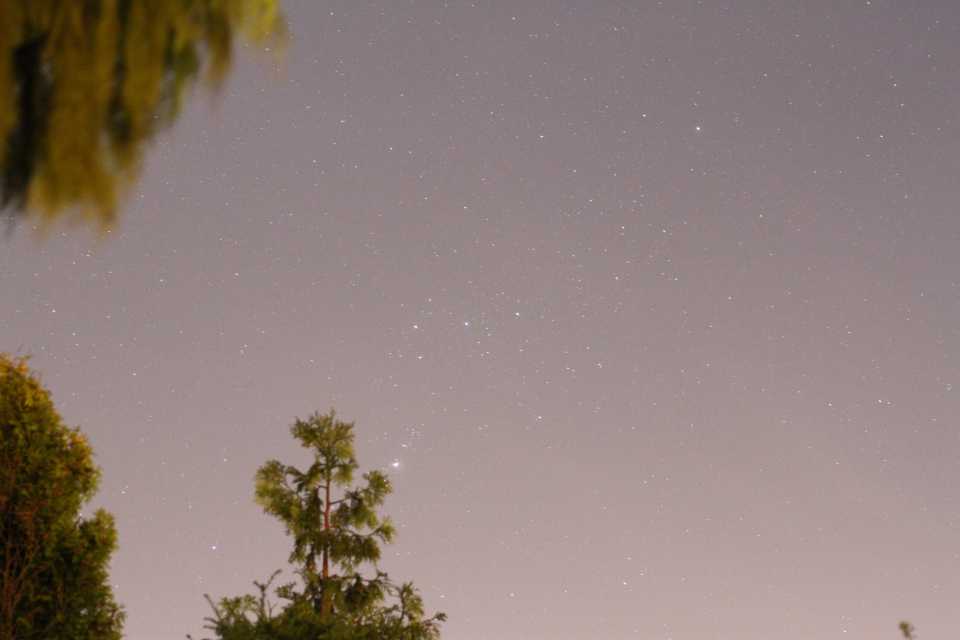
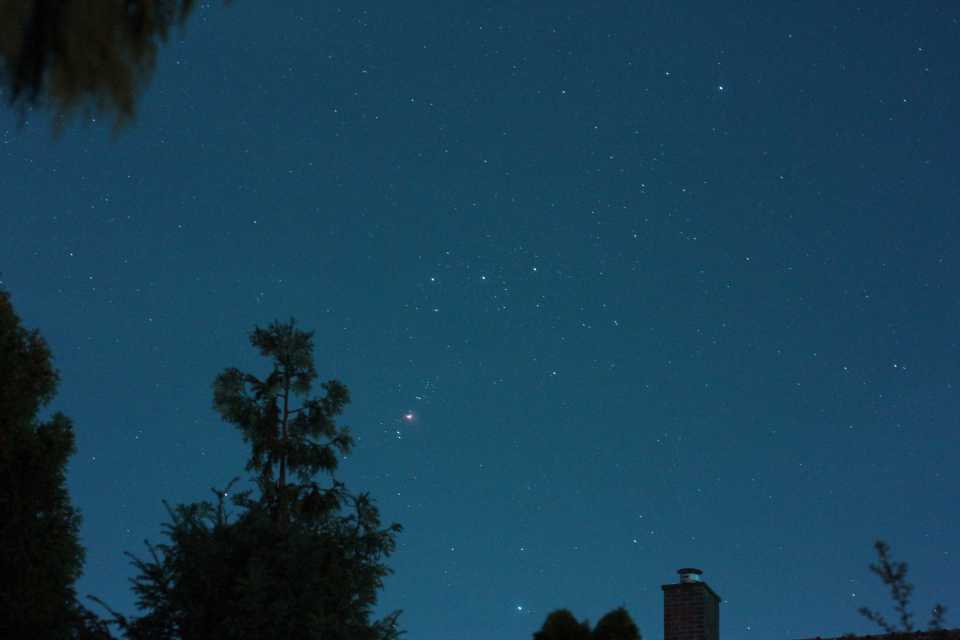
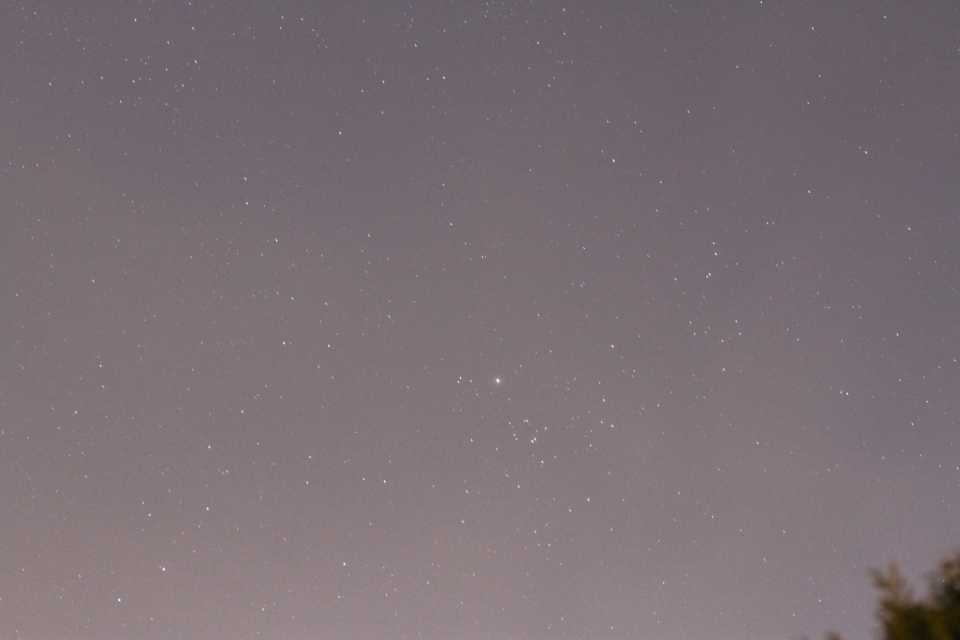
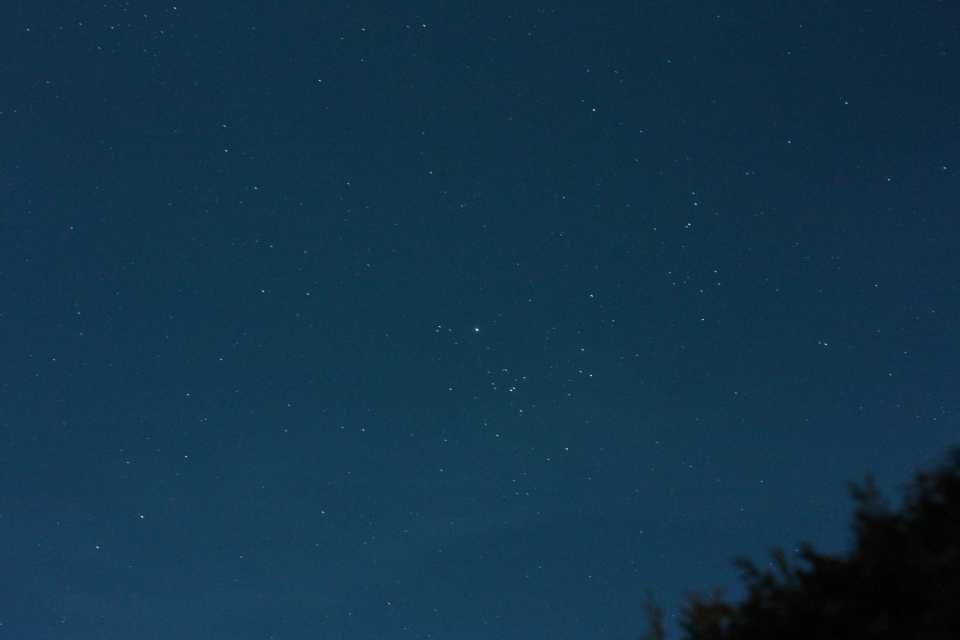
Sky samplesOn 2012 March 31 I tried a few test pictures with a Canon 50mm f/2.5 macro but there was a waxing gibbous moon (56%) so this is not a representative test. | |||||||||||||||||||
| |||||||||||||||||||